TL;DR:
- DJ software exports are either audio files for finished mixes or data for hardware playback, depending on the workflow.
- Understanding the distinction between studio and performance export modes is essential for proper file and playlist preparation before gigs.
DJ software exports are the processes that let you save your mixes as audio files or prepare your music library for playback on DJ hardware. How beginners understand DJ software exports depends entirely on one distinction: are you exporting a recorded mix, or are you preparing tracks for a CDJ or XDJ? These are two completely different workflows, and confusing them is the most common mistake new DJs make. Tools like Rekordbox, DJ.Studio, Ableton Live, and FL Studio each handle exports differently. Get this right from day one, and your gig prep becomes a system instead of a panic.
How beginners understand DJ software exports: the core split
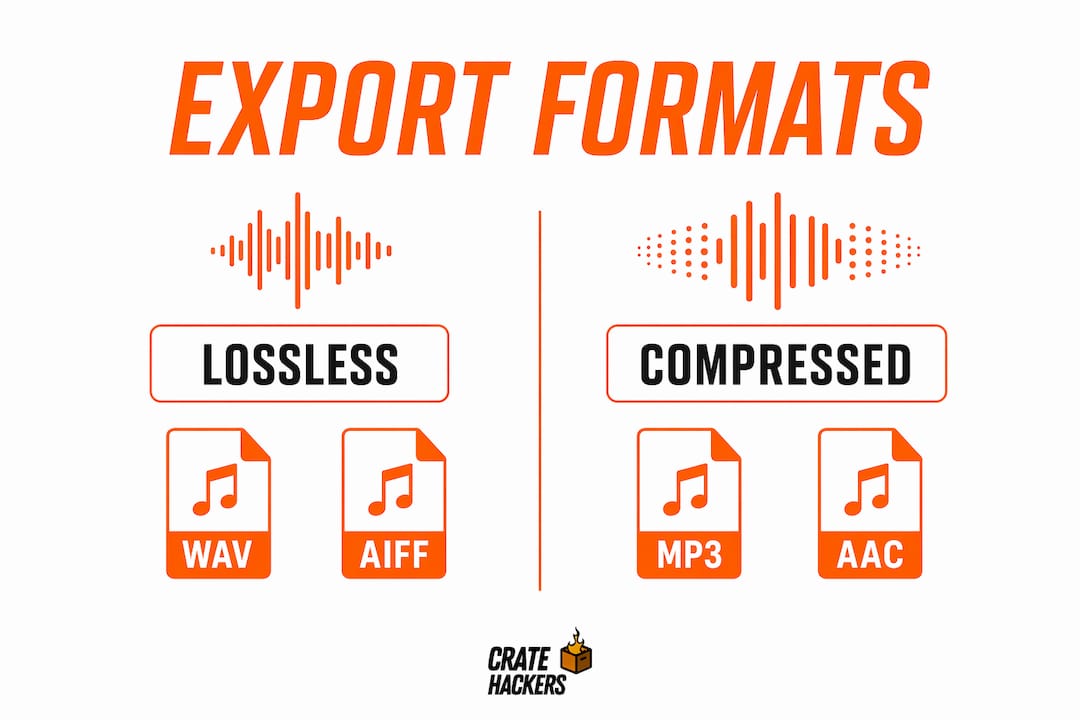
DJ software is split into two categories: studio arrangement tools and live performance tools. That split defines everything about how exports work.
Studio tools like DJ.Studio and Ableton Live export finished audio. Think recorded mixes, video files, or multitrack projects. You hit render, and you get a file you can upload to Mixcloud or send to a collaborator.
Live performance tools like Rekordbox work differently. Their export function is really data preparation. You are not rendering audio. You are transferring analyzed track data, playlist structure, BPM grids, and key information to a USB drive so that Pioneer CDJ or XDJ hardware can read it.
“Understanding the purpose of your DJ software, whether studio or live, makes grasping export types much easier.” This one mental shift removes most of the confusion beginners carry into their first export attempt.
Here is the core split at a glance:
- Studio exports: Audio files (WAV, MP3, FLAC), video mixes, Ableton Live multitrack projects
- Performance exports: USB drives with analyzed playlists, BPM/key metadata, and beatgrid data for hardware playback
- Key rule: Export mode in Rekordbox is not optional. It is the only mode that correctly packages track analysis and playlist data for CDJ hardware.
What audio export formats should beginners use?
When you export a recorded mix as audio, format choice directly affects quality and file size. Here is what each option means in practice.
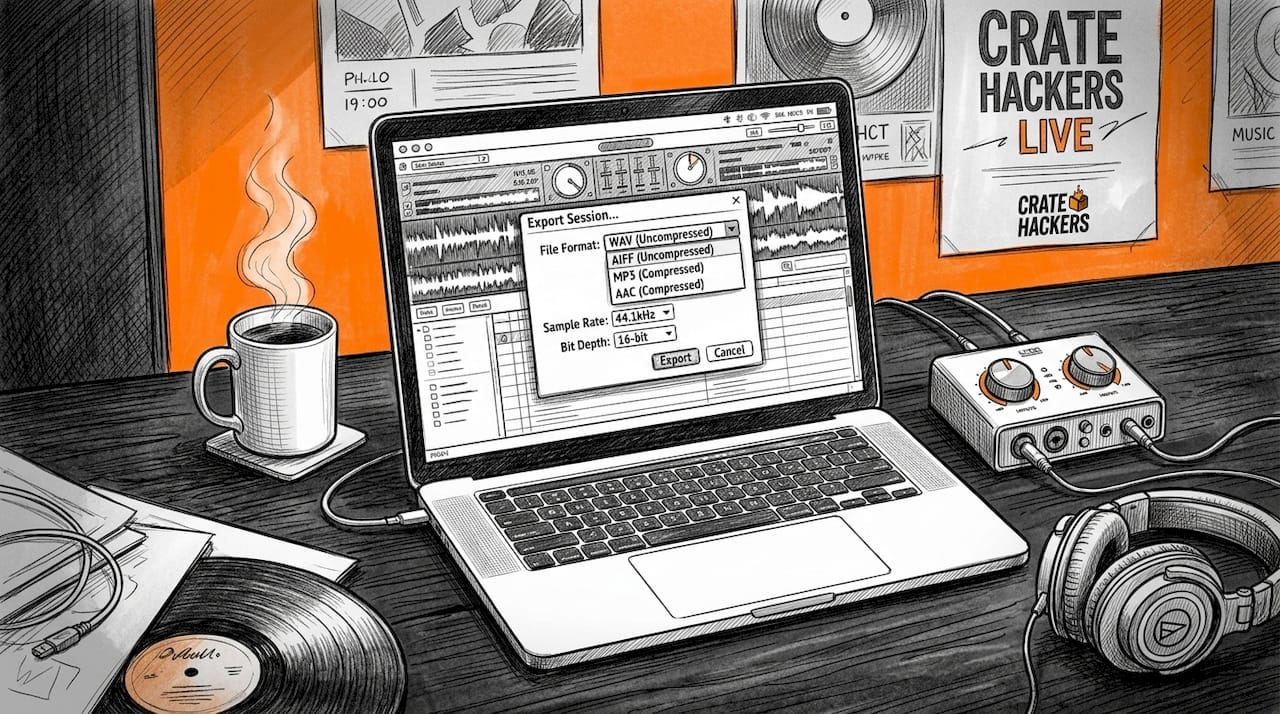
WAV and AIFF are lossless formats. They preserve every detail of your mix. Use these for anything you plan to master, upload to a high-quality platform, or hand off to a sound engineer. The tradeoff is file size. A one-hour WAV mix can hit 1GB or more.
MP3 and AAC are compressed formats. They are smaller and faster to upload, which makes them practical for sharing on SoundCloud or sending via email. The compression removes audio data, so quality drops slightly. For most streaming platforms, a 320kbps MP3 is the standard floor.
FLAC sits in the middle. It is lossless like WAV but compressed in file size. WAV and AIFF suit production work while MP3 and AAC favor sharing. FLAC is a strong choice when you want lossless quality without the storage hit.
Here is a step-by-step process for exporting a mix from DJ.Studio or a similar beginner tool:
- Finish your mix and review the full timeline for any clipping or volume spikes.
- Open the export panel and select your format. WAV for quality, MP3 for sharing.
- Set bit depth to 24-bit and sample rate to 44.1kHz or 48kHz for clean output.
- Name your file clearly before exporting. Use a format like “ArtistName_MixTitle_Date.”
- Run the export and check the output file in a media player before uploading anywhere.
DJ.Studio exports mixes as WAV, MP3, FLAC, video, or Ableton Live multitrack projects, giving beginners flexibility depending on where the mix is going.
Pro Tip: Always check your master output level before exporting. If the meter is hitting the red during your mix, your export will clip. Pull the master fader down to around -3dB as a safety buffer before you render.
How to export playlists to USB in Rekordbox step by step
This is the workflow most beginners get wrong. Copying music files to a USB drive is not the same as exporting from Rekordbox. USB export in Rekordbox means transferring analyzed track data and playlist structure so Pioneer hardware can actually read and play your music.
Follow these steps exactly:
- Open Rekordbox and switch to Export mode using the toggle at the top of the screen.
- Format your USB drive as FAT32 or exFAT on your computer before connecting it to Rekordbox.
- Connect the USB drive. It will appear in the left-hand device panel inside Rekordbox.
- Build your playlist in the Rekordbox library. Make sure every track has been analyzed for BPM and key.
- Right-click your playlist and select “Export Playlist to Device.”
- Wait for the transfer to complete. Do not unplug the drive mid-transfer.
- Safely eject the USB from within Rekordbox or your operating system before removing it.
- Plug the USB into your CDJ or XDJ and verify the playlist loads correctly before your gig.
| Step | What to check |
|---|---|
| USB format | FAT32 or exFAT only. NTFS will not work on Pioneer hardware. |
| Rekordbox mode | Must be in Export mode, not Performance mode. |
| Track analysis | Every track needs BPM and key analysis before export. |
| Safe eject | Always eject properly to avoid corrupt data on the drive. |
| Hardware check | Test the USB on your CDJ before the event, not at the venue. |
Rekordbox requires FAT32 or HFS+ formatted drives for hardware-compatible playlist transfer. A USB formatted as NTFS will not be recognized by Pioneer CDJs, which is one of the most common gig-night disasters for new DJs.
Pro Tip: Carry two USB drives to every gig. Export your full playlist to both. If one fails or gets corrupted, you have a backup ready. This takes five extra minutes and has saved countless sets.
Key mistakes beginners make with DJ software exports
Most export errors come from skipping steps that feel optional but are not. Here is what to watch for.
- Skipping BPM and key analysis: Rekordbox will export unanalyzed tracks, but the hardware will not display accurate BPM or key data. Always run full analysis before export.
- Using the wrong USB mode: Assuming any USB or mode will work is the biggest beginner error in Rekordbox. Only FAT32 drives in Export mode guarantee compatibility.
- Exporting without checking levels: Clipping in your audio export creates distortion that cannot be fixed after the fact. Monitor your peaks during the mix, not just at the end.
- Poor file naming: Exporting stems or mixes without clear names creates chaos fast. Use a consistent naming system from day one.
- Not verifying the export: Always play back your exported file or test your USB on hardware before the gig. What looks correct in software is not always correct on a CDJ.
“Beginners often over-focus on sound selection instead of making exports easy to line up with clear labeling and consistent tracks.” Getting organized before you export saves hours of confusion later.
The export in Pioneer-style workflows is data preparation, not audio rendering. That mental model shift is the single most useful thing a beginner can internalize early.
When and how to export stems for remixing or collaboration
Stem exports are for when you want to share individual elements of a track, such as drums, bass, or vocals, rather than a finished mix. This is relevant for DJs who also produce or collaborate with other artists.
Here is what to know before you start:
- Use 24-bit WAV at 48kHz. Stem exports should use 24-bit/48kHz WAV starting at bar 1/beat 1 with consistent stereo or mono routing. This makes it easy for any audio engineer to load your stems without alignment issues.
- In Ableton Live, use the “Export Audio/Video” function and select “All Individual Tracks.” Ableton Live stem export prints each track as a separate WAV file at 24 or 32-bit PCM.
- In FL Studio, you must enable “Split Mixer Tracks” in the export dialog. Without this option enabled, FL Studio collapses all stems into one file and you lose track separation entirely.
- Watch for clipping on individual tracks. Clipping can occur on individual stems even when the overall mix sounds fine. Check each track’s peak level separately before exporting.
- Label every stem clearly. Use names like “ProjectName_Drums,” “ProjectName_Bass,” and “ProjectName_Vocals.” Anyone opening your session should know what each file contains without guessing.
Pro Tip: Before sending stems to a collaborator, import them back into a blank session yourself and check that everything lines up at bar 1. This takes two minutes and catches alignment errors before they become someone else’s problem.
Key takeaways
Mastering DJ software exports means understanding whether you are rendering audio or preparing data for hardware, then executing the correct workflow for each.
| Point | Details |
|---|---|
| Studio vs. performance exports | Studio tools render audio files; performance tools like Rekordbox prepare USB data for CDJ hardware. |
| USB format matters | Rekordbox requires FAT32 or exFAT drives in Export mode for Pioneer hardware compatibility. |
| Audio format choice | Use WAV or AIFF for quality, MP3 at 320kbps for sharing, and FLAC when you need lossless with smaller file size. |
| Stem export settings | Export stems at 24-bit/48kHz WAV, starting at bar 1, with clear track naming for collaborators. |
| Always verify before gigs | Test your USB on hardware and play back your audio exports before any performance. |
What I’ve learned from getting exports wrong at gigs
I spent my first year as a DJ treating Rekordbox like a file browser. I would drag tracks onto a USB, show up to a venue, and wonder why the CDJs could not read half my library. The answer was always the same: I was not in Export mode, my USB was formatted wrong, or I had skipped analysis on half my tracks.
The moment I started treating export prep as its own dedicated workflow, separate from music selection, everything changed. I now spend 20 minutes before every gig running analysis, checking my playlist in Export mode, and verifying the USB on my home CDJ. That 20 minutes has never failed me.
My honest recommendation for beginners: practice both workflows in the same week. Export a recorded mix as a WAV file using DJ.Studio or a similar tool, then export a playlist to USB using Rekordbox. Doing both back to back makes the distinction between audio rendering and data preparation click instantly. You can read about it all day, but the muscle memory comes from doing it.
Also, use a timeline-based tool to learn phrasing and transitions before you worry about stems or advanced formats. Get the basics locked in first. Exports are only as good as the music and structure behind them.
— Dominick
Get your music export-ready faster with Cratehackers
Before you can export anything worth playing, you need a library that is clean, organized, and ready to go.
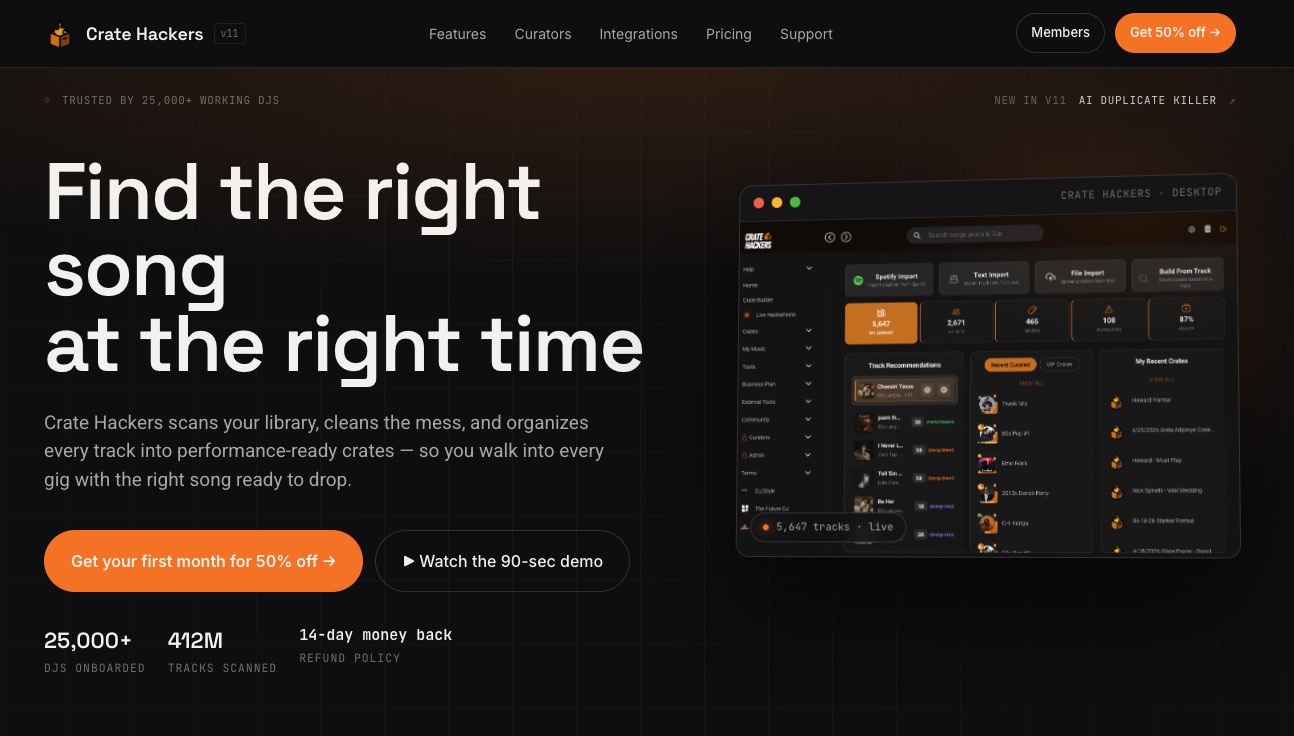
Cratehackers is built for exactly this. The platform scans your music collection, removes duplicates, matches your tracks to Spotify, Apple Music, and Tidal playlists, and exports curated crates directly to Rekordbox, Serato, and Virtual DJ. Instead of spending an hour hunting for the right track before a gig, you spend that time on your actual set. If you want export-ready playlists without the manual grind, Cratehackers is where you start. Check out the DJ software file reading tips on the blog to make sure your tracks are prepared correctly before you ever hit export.
FAQ
What does “export” mean in DJ software?
In DJ software, export means either rendering a recorded mix as an audio file or transferring analyzed playlist data to a USB drive for hardware playback. The meaning depends on whether you are using studio software like DJ.Studio or performance software like Rekordbox.
What file format should I export my DJ mix in?
Use WAV or AIFF for the highest quality, especially if you plan to master or upload to a professional platform. Use MP3 at 320kbps for sharing on SoundCloud or Mixcloud where file size matters.
Why won’t my USB work with Pioneer CDJs after exporting from Rekordbox?
The most common cause is an incorrect USB format or the wrong Rekordbox mode. Rekordbox requires a FAT32 or exFAT formatted drive and must be in Export mode, not Performance mode, for CDJ-compatible transfers.
Do I need to analyze tracks before exporting to USB?
Yes. Every track must be analyzed for BPM, key, and beatgrid in Rekordbox before export. Unanalyzed tracks will transfer but will not display correct metadata on Pioneer hardware.
What is the difference between exporting stems and exporting a full mix?
A full mix export renders your entire set as one audio file. Stem export separates individual elements like drums, bass, and vocals into separate WAV files for remixing or collaboration, typically at 24-bit/48kHz.